Casemasters Blog
Ceramic Sprays For Titanium Implant Abutments and Ceramic Restorations
Thanks for Contribution by Phillip G. Pitts Sr.
Enamelite LLC

- Initial:


2. Sandblast (120 um); Steam Clean; Air Oxidize


3. Ti Bonder and Opaque Application Technique:
Always use a analog holder through all steps to apply ceramic.
Prepare titanium surface to receive ceramic use a Clean Crosscut carbide bur.
Sandblast surface with minimum 120-150 micron aluminous oxide at a 45° degree angle with 20 to 30 pounds of air pressure.
Steam clean the restorations and let rest for minimum of 5-7 minutes to allow for natural oxide growth.
Using the analog holder to spray very light coat of Ti Bonder in front of suction device. Fire according to instructions. Properly applied Ti bonder will appear with a sheen and totally black color when applied properly.
Apply the opaque using same technique as bonder, two (2) coats , fired separately.
Glaze is the last application to make tissue are ideal for complimenting the tissue and etch the upper portion for optimal bonding to restoration.
4. Apply Bonder Coat and Fire


5. Analog Holder:


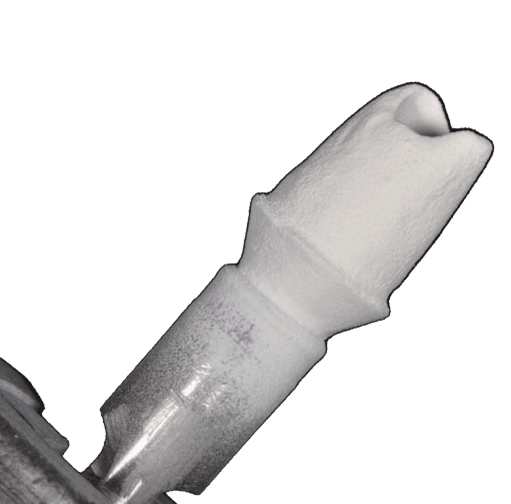
6. Micro Thin Ceramic Coating of Ti Abutment :


7. Ideal Ti Bonder Coating for Optimal Bonding:

8. Enamelite Titanium Spray Bonder and Opaque:


9. AEROpaque Titanium Denture Bar:


10. AEROpaqued Titanium Coping Substructures:

11. Importance Of Spray Glaze:

12. Apply Opaquer, Tints and Glaze


13. Check Opaqued Abutment:

14. Clinical Setup:

15. Etch and Silanate Abutment:

16. Insert Abutment:

17. Try In (VITA Mark II 1M1 Crown):

18. Characterize and Glaze With VITA Akzent:

19. Cement With Variolink Veneer:


